Get started with Line9
Overview
Line9 draws diagrams from Mermaid, a plain-text way to describe them. It places every box (node) and line (edge) for you, so you never arrange anything by hand.
This page uses an example of how an organisation approves an expense claim. You’ll use these parts of the diagram page:
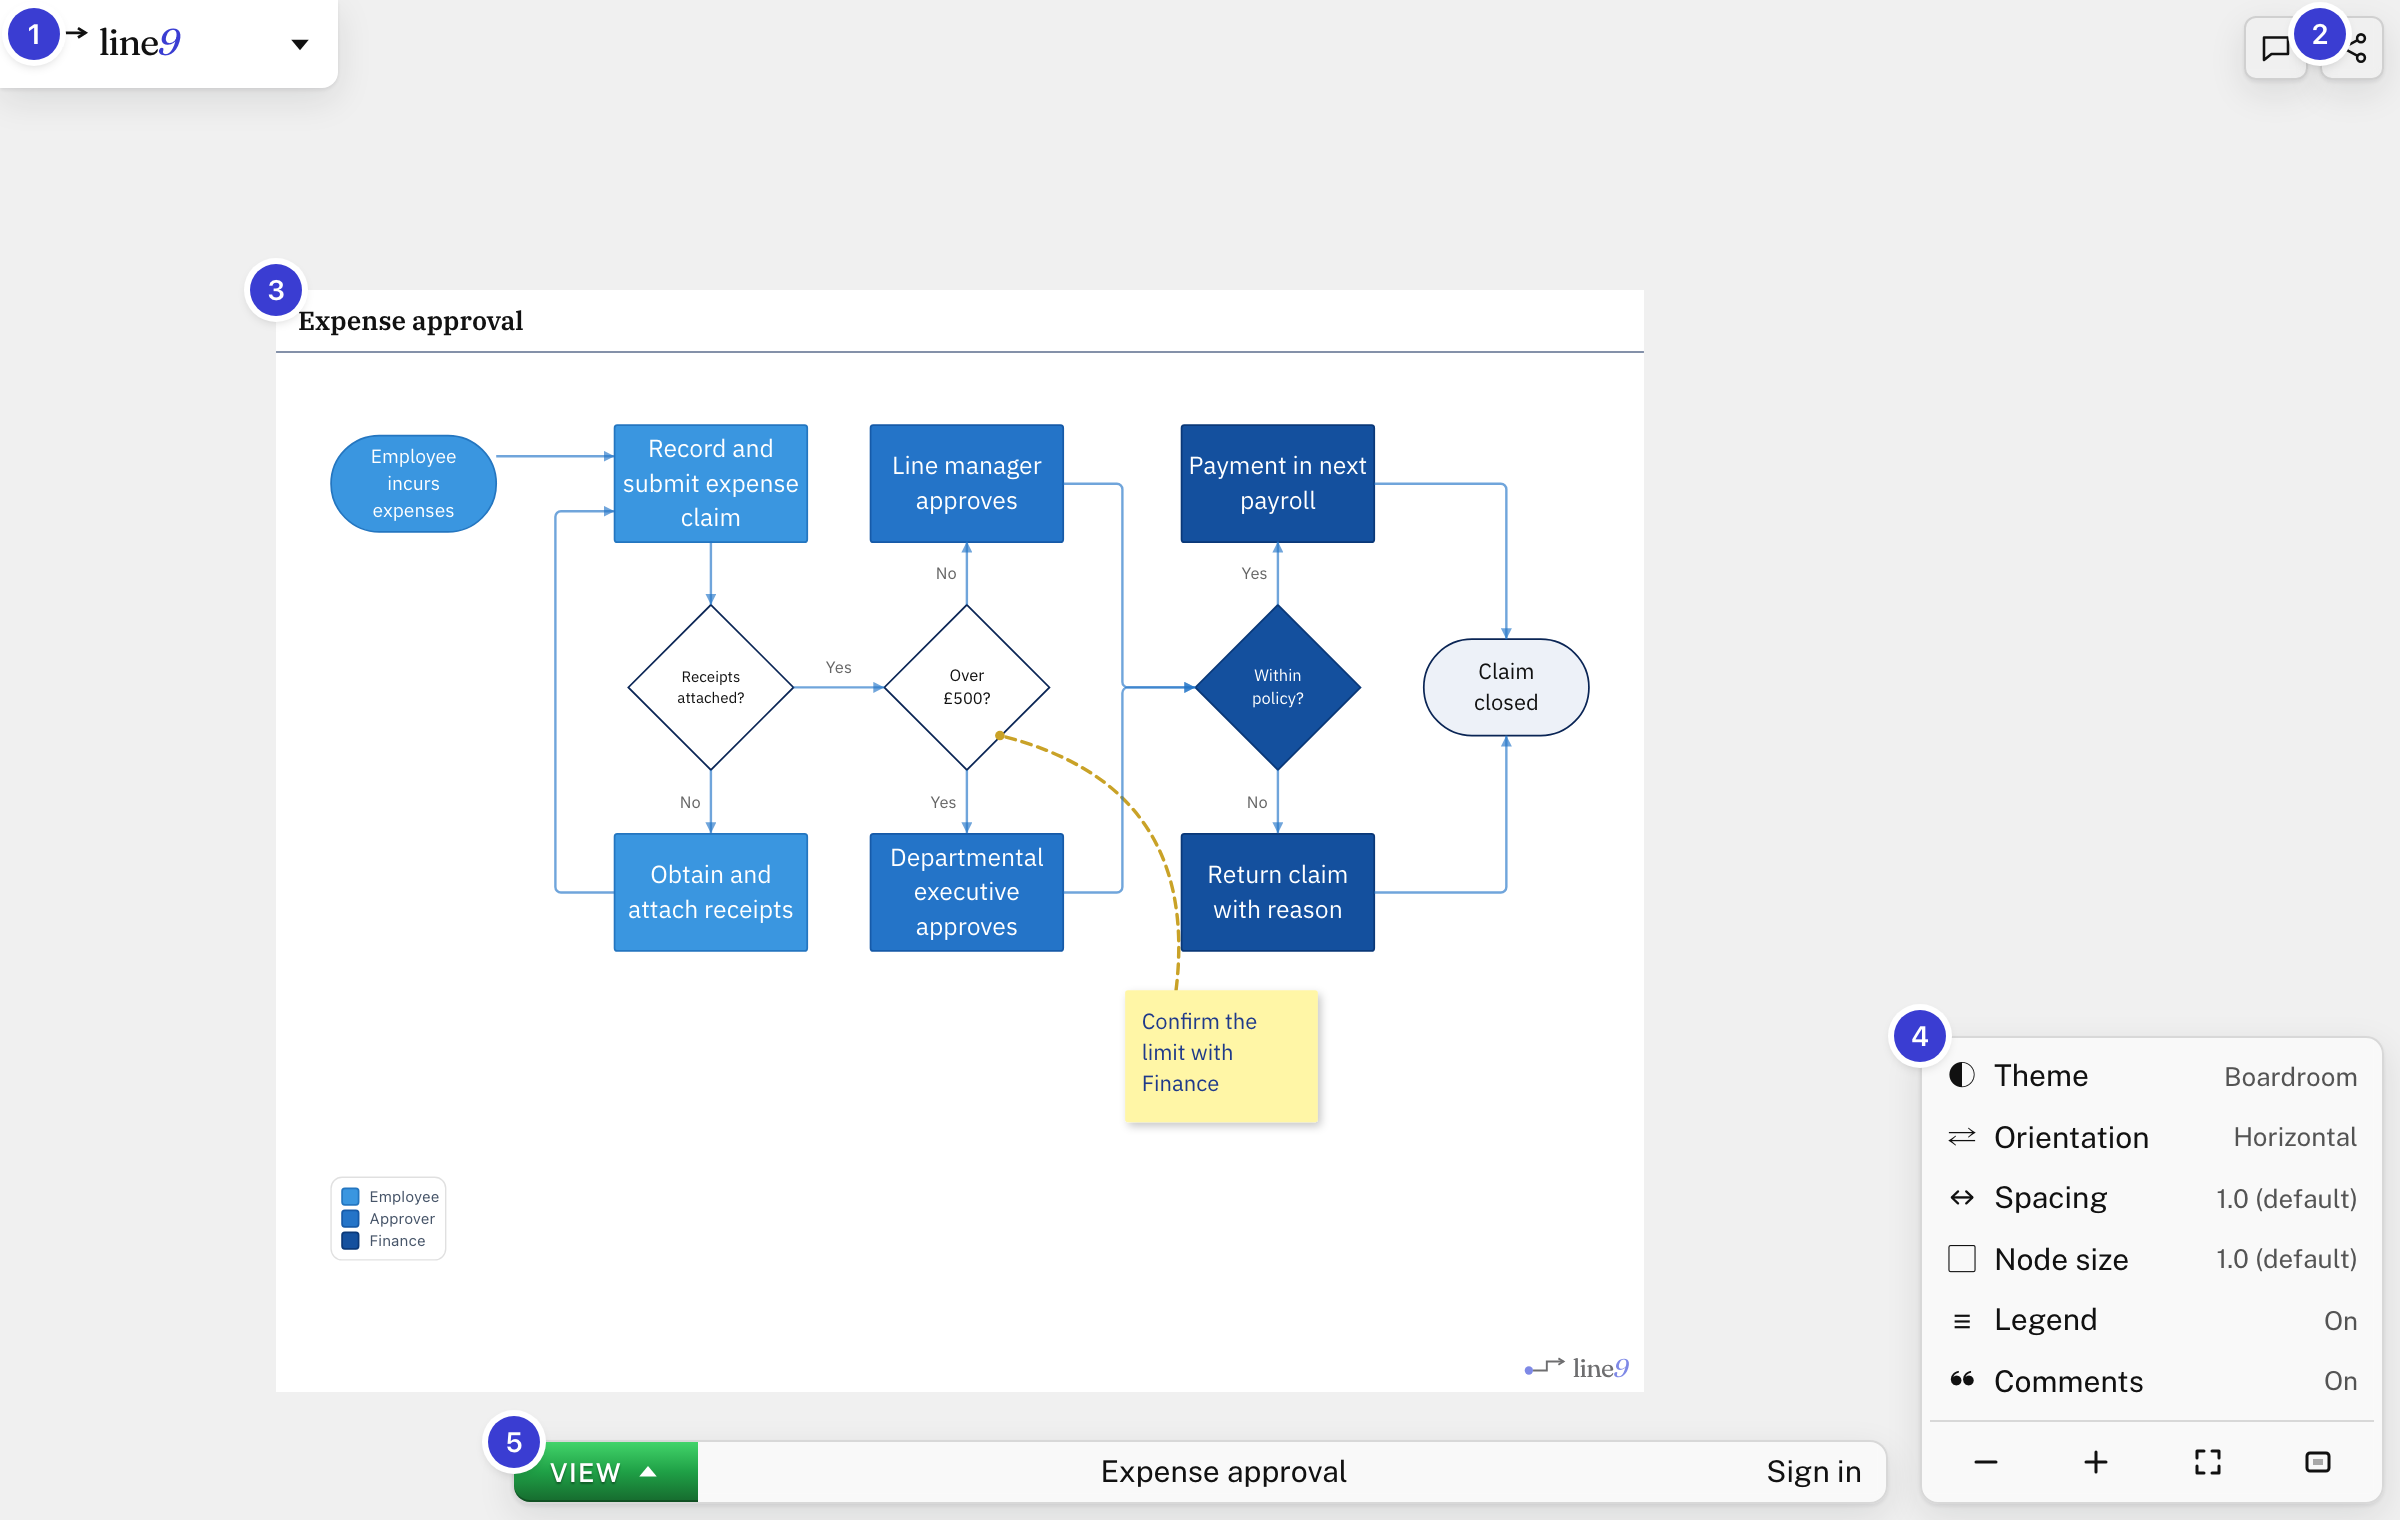
- Menu, under the Line9 logo: every command, including export.
- Share, the share icon: copy a link to the diagram.
- The diagram
- Style panel: the theme, orientation and other settings.
- Mode button: switch between the diagram (VIEW) and its text (SOURCE).
Step 1: Open the example flowchart
- Open the expense approval example. It opens in a new tab.
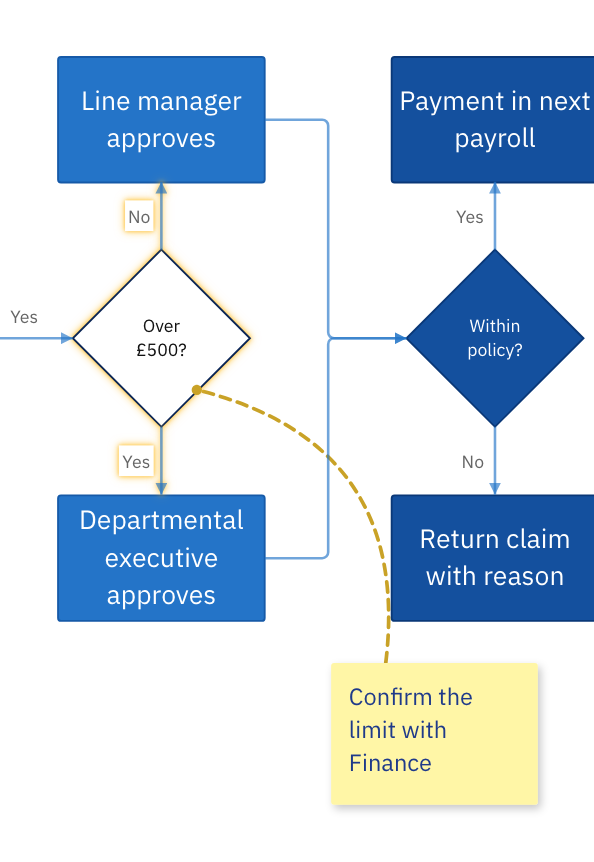
- Point at the Over £500? node. Line9 highlights it and the edges that leave it.
Step 2: Change how it looks
Use the style panel in the bottom-right corner. Line9 redraws the diagram after each change.
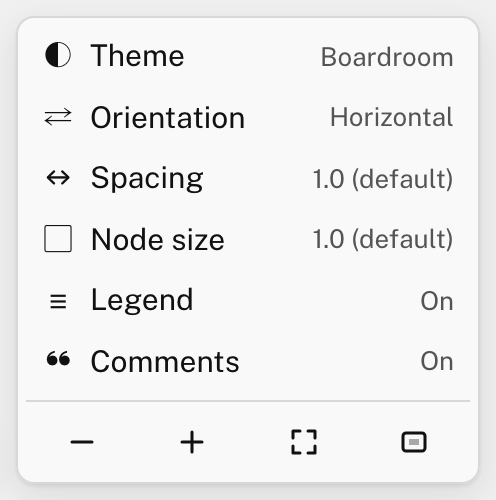
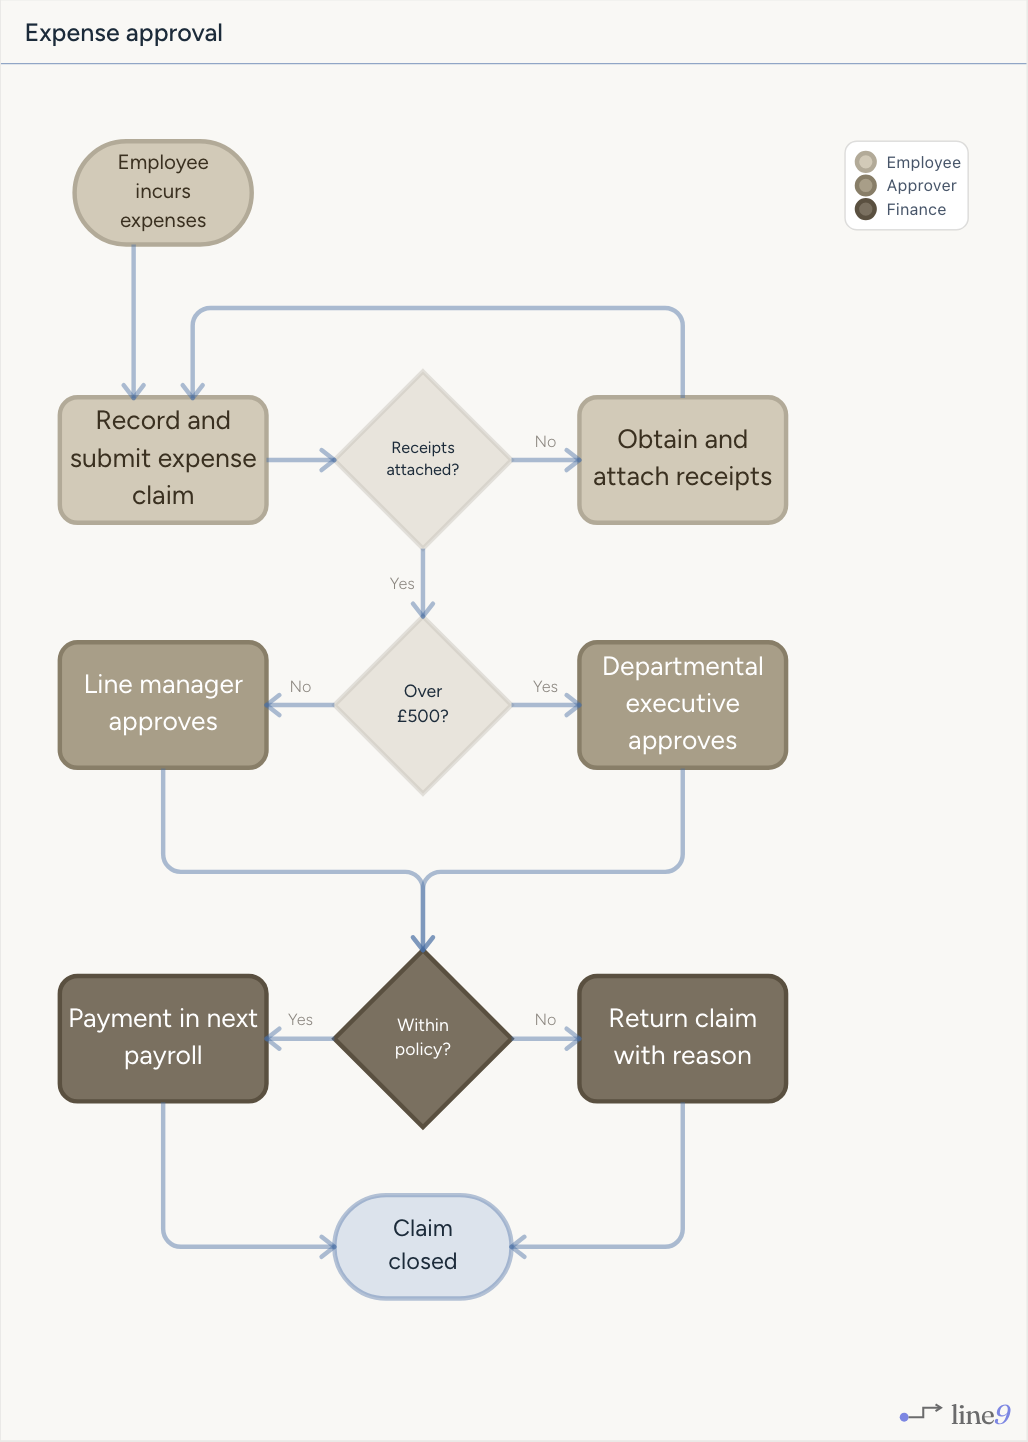
- Click Theme and choose Linen.
- Click Orientation. The diagram now runs from top to bottom.
- Click Comments to hide the yellow comment. You may want to hide comments before you share a diagram.
The legend, in a corner of the diagram, labels each of the colours.
Step 3: Make a small edit
Every Line9 diagram is written as Mermaid text. Change the text, and the diagram changes with it.
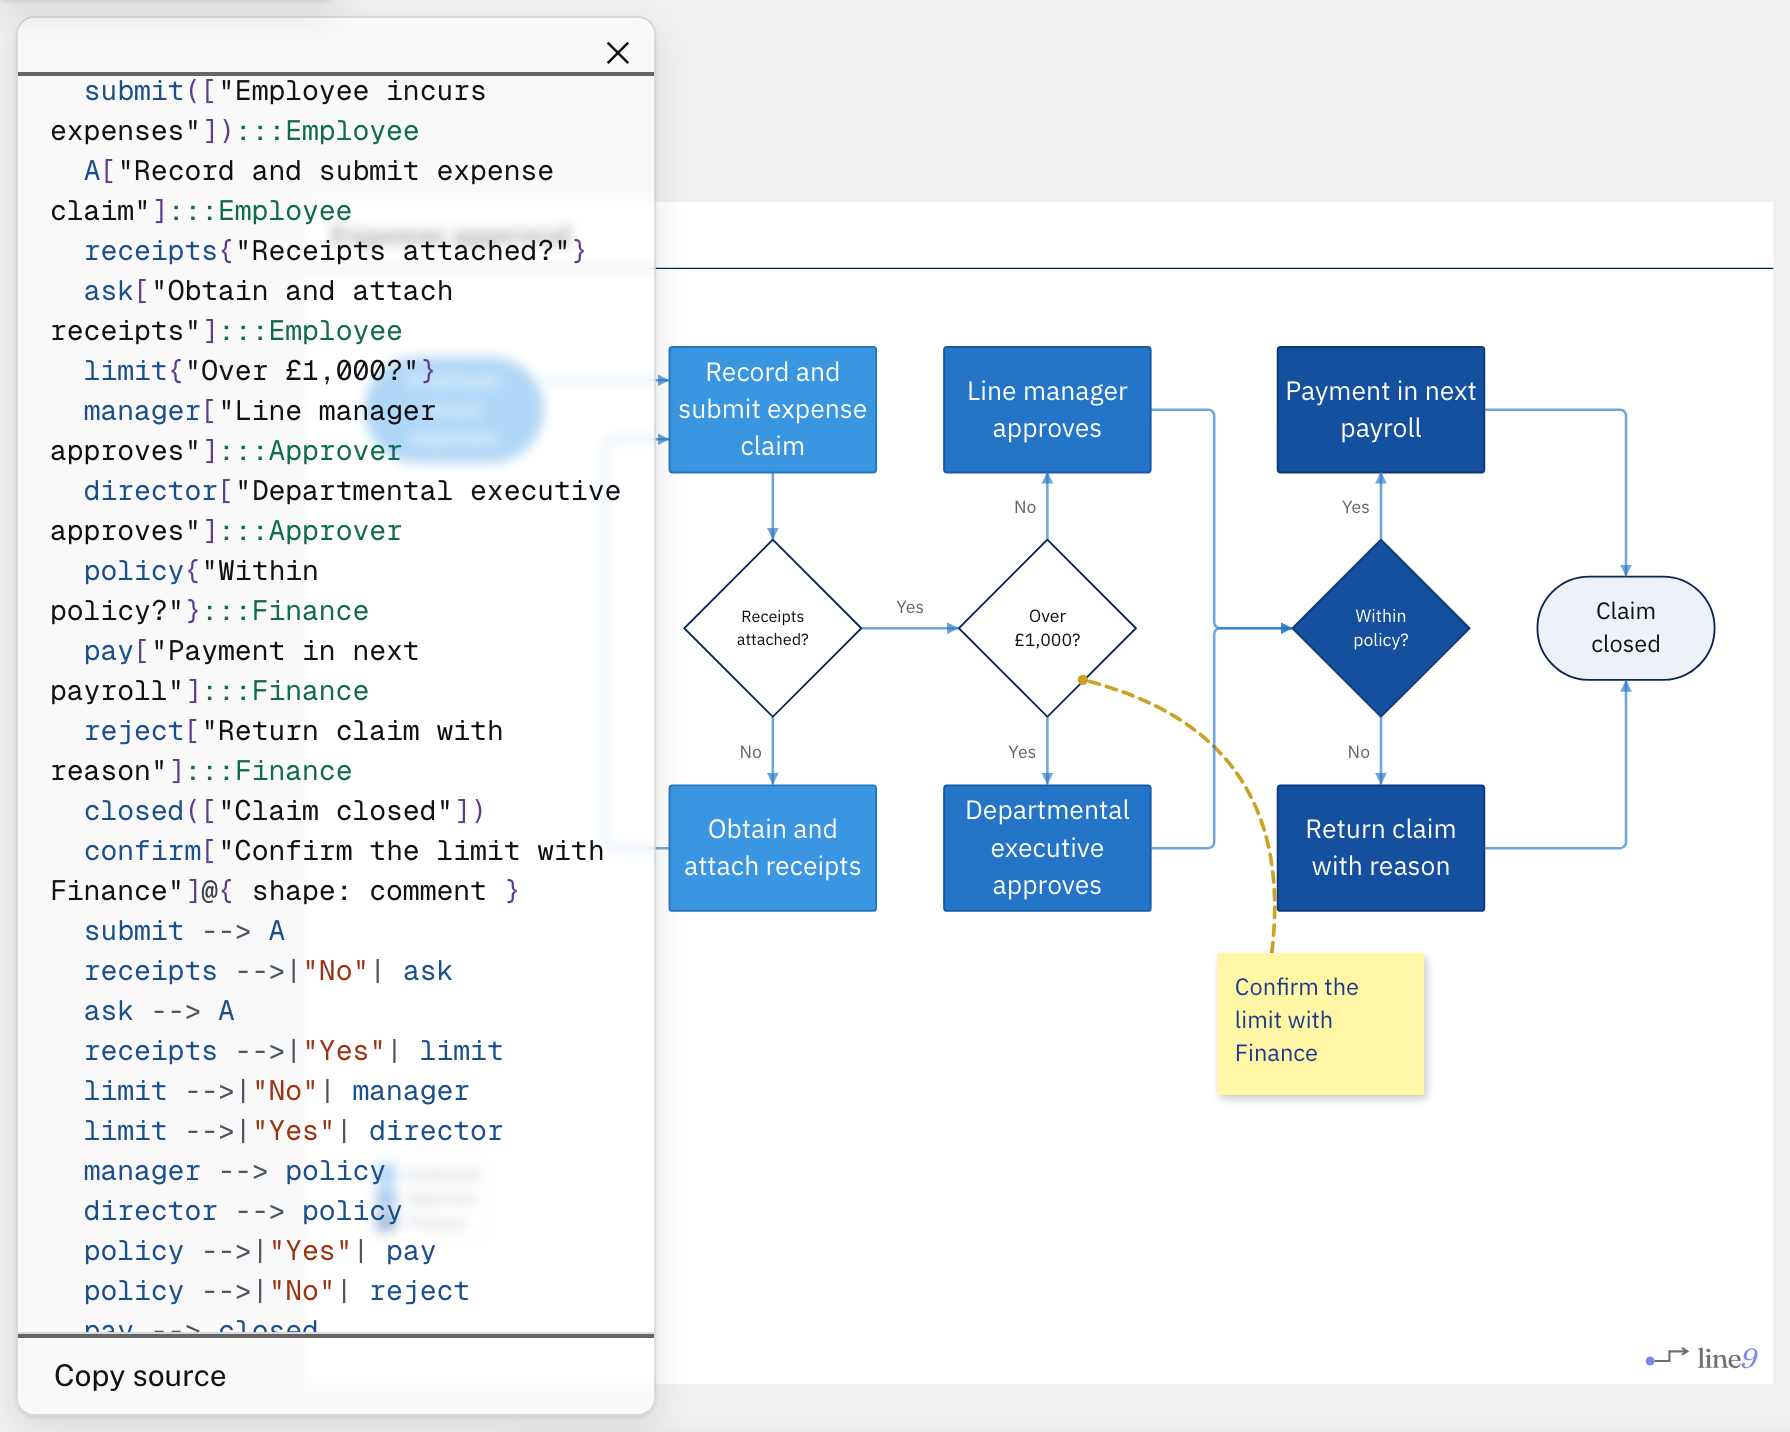
- Click the mode button, VIEW, at the bottom and choose SOURCE. The text opens on the left.
- Find
Over £500?and change500to1,000. Line9 redraws the diagram as you type.
Pro users can use the Line9 editor for easier, faster editing. Users without a Pro account can try out the editor but can’t keep any changes made. See the editor tutorial.
Step 4: Share a link or download a PNG
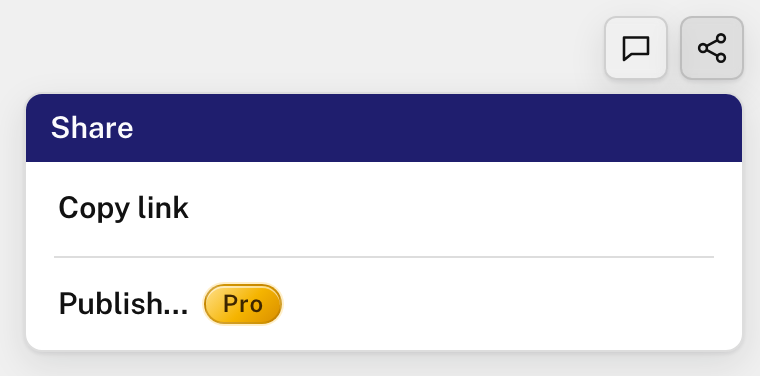
To share a link, click the share icon in the top-right corner, then Copy link. The link holds the whole diagram, with your changes. Anyone can open and view the shared diagram – no account needed.
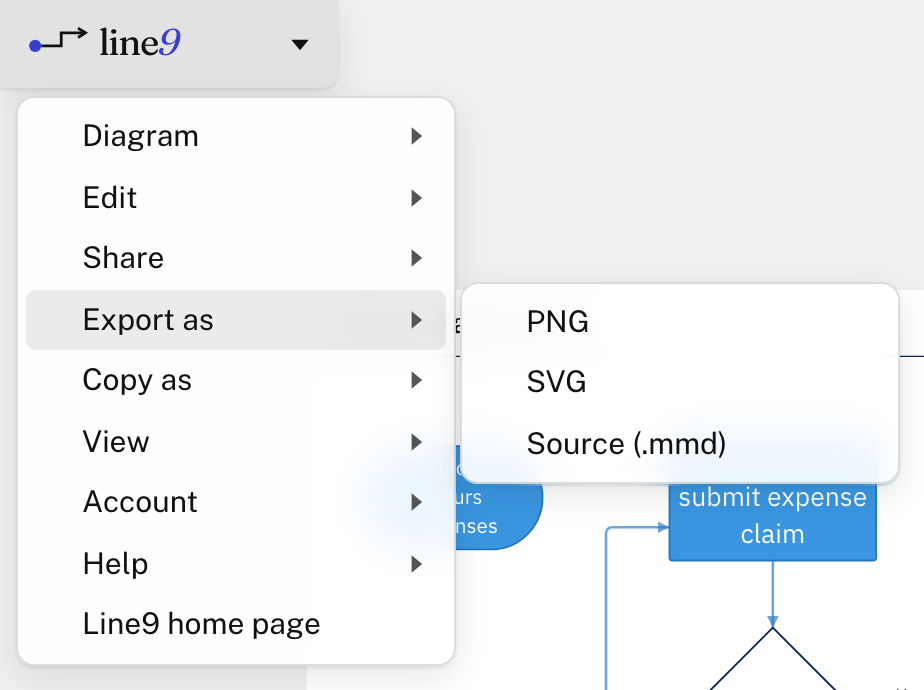
To download an image, open the menu in the top-left corner and choose Export as, then PNG. Without Line9 Pro, images include a Line9 watermark.
Line9 Pro
The diagram page is free to use, with no account. Line9 Pro adds:
- the Line9 editor
- publishing: a page for each diagram, for your team or for anyone
- Pro themes, such as Kingfisher
- images without the Line9 watermark
- your team’s published diagrams in chat apps and in the Line9 CLI
- commercial use of the Line9 CLI
To get Line9 Pro, see Pricing. If you already have it, click Sign in at the bottom of the diagram page.
Next steps
- Start a diagram: bring Mermaid you already have, or start from a blank diagram.
- Colour-code with classes: colour nodes by role, and explain the colours in a legend.
- Line9 in chat apps: have ChatGPT or Claude draw diagrams with Line9.
- Editor tutorial: build a flowchart with the Line9 editor.